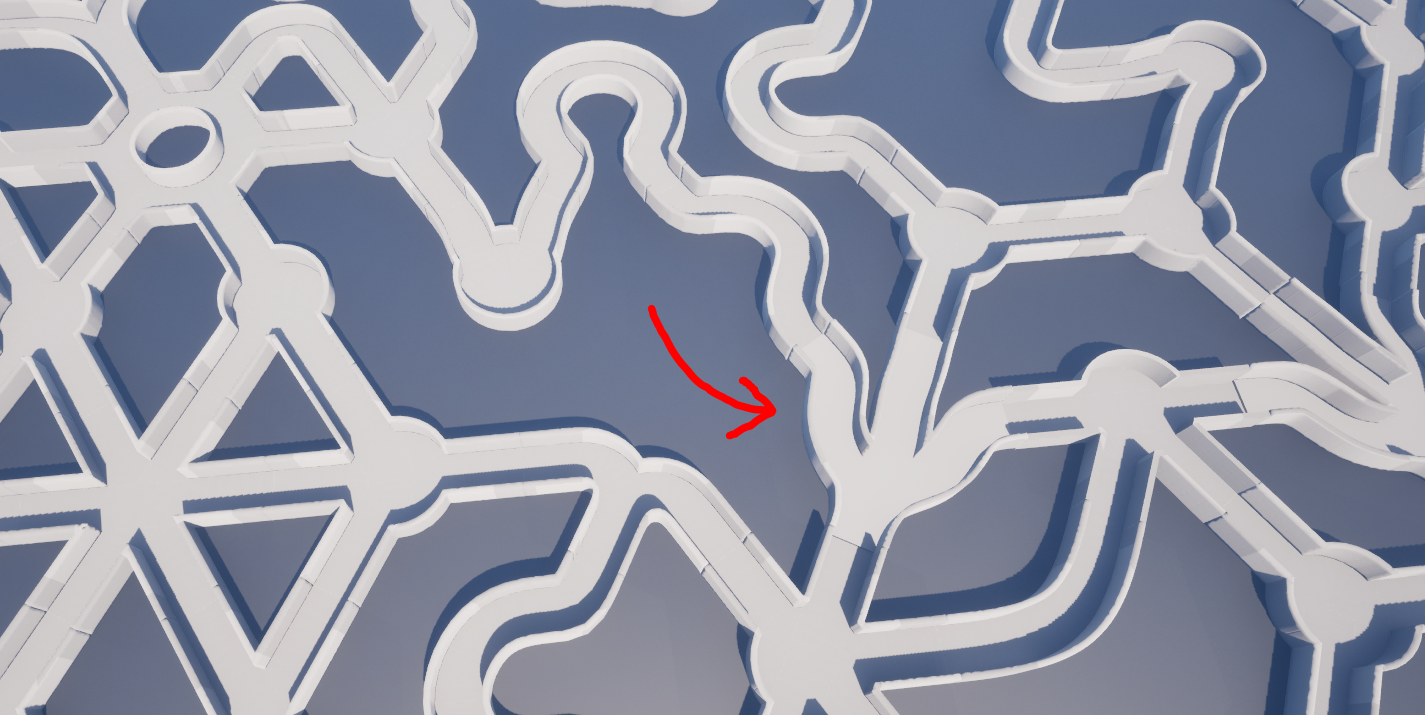
We’re continuing on with the hexagon map generation project from the previous post.
Each hex was build using a custom HDA in houdini. At the time of writing the previous post, that HDA was built for direct interaction within Houdini. I wanted to automate some of the more tedious tasks. Exporting all the component models out of houdini, and importing them into unreal, assigning them into the data assets, these are the steps that can be easily automated.
Houdini Engine
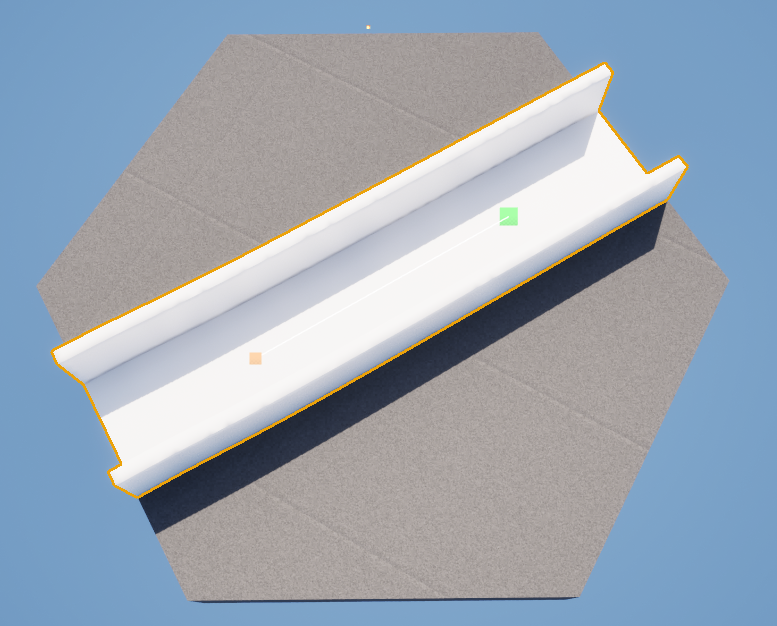
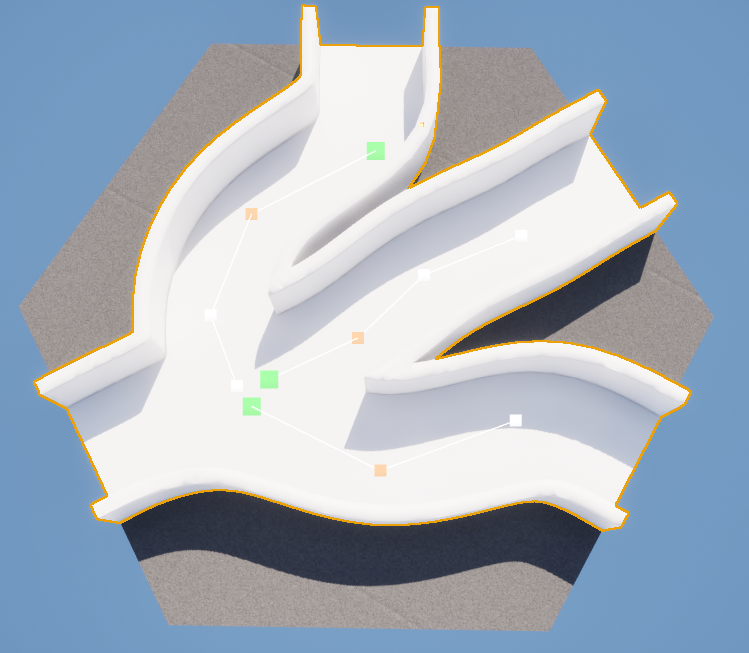
We start with a hex, and a road. A curve control defines the placement of the road.
We can add any number of curves as we want.
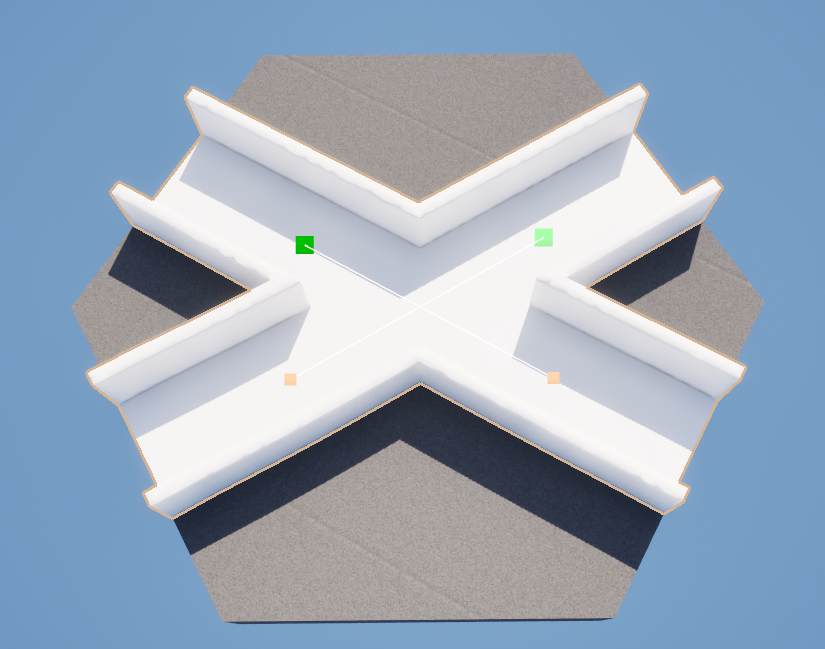
Easy stuff so far.
The roads snap to the center of the edge, so any two hexes align perfectly with each other.
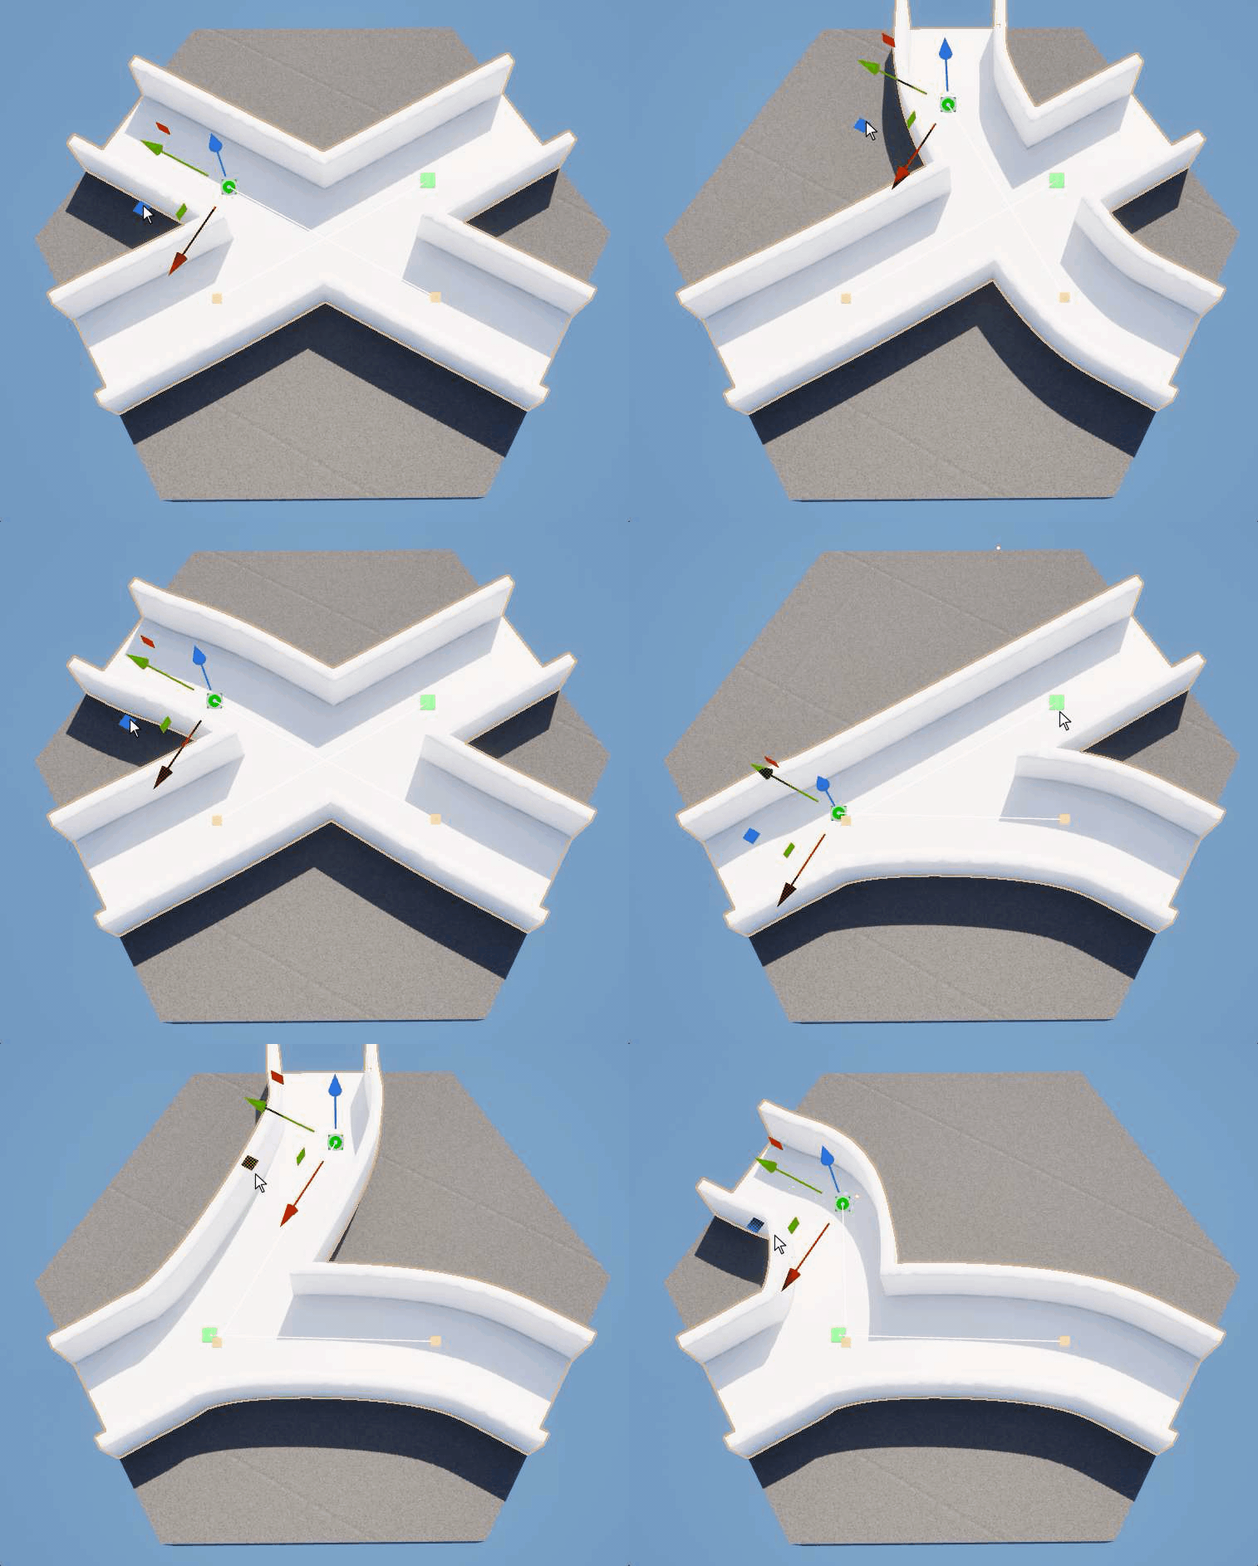
Design whatever shape you want with variable road width.
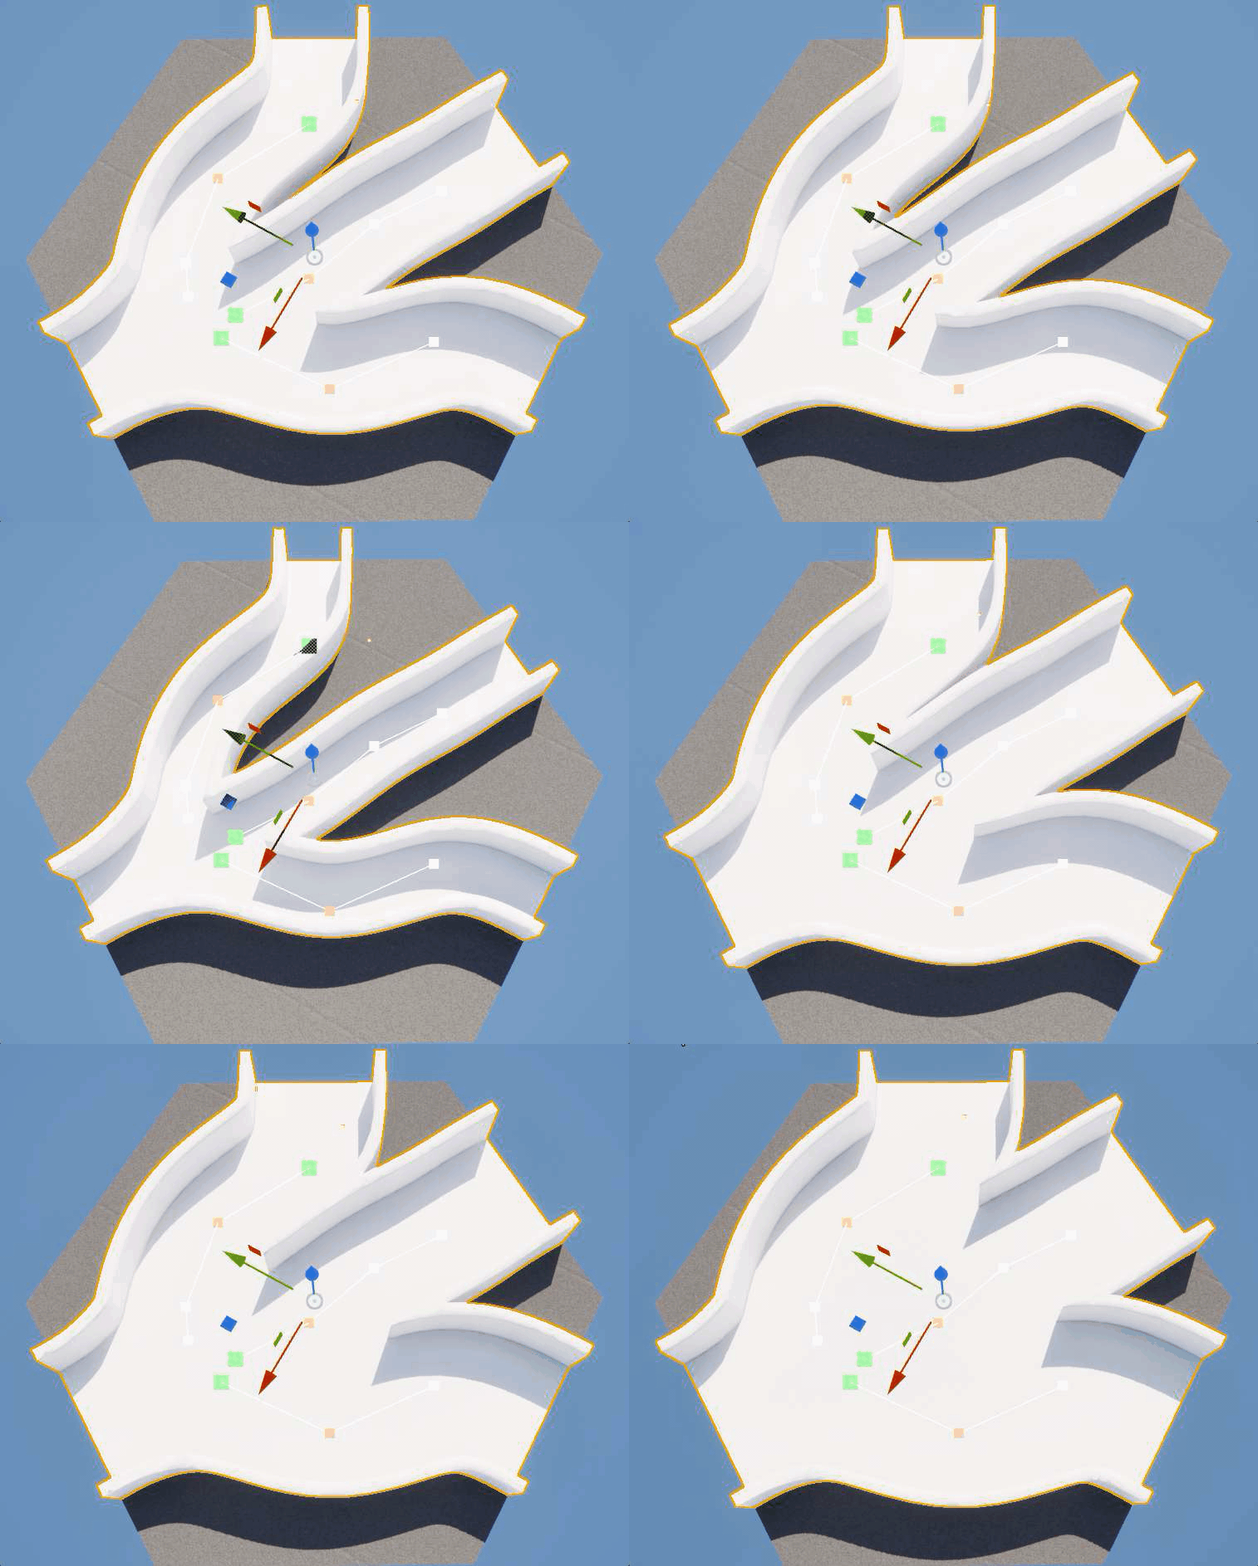
Every hex consists of multiple static meshes that are used throughout the map generation. For example, we have the barriers mesh that act as colliders, the road mesh itself, and an environment mesh that we can use to easily populate everything but the road with PCG points. All of these get loaded into a Data Asset for the specific hex shape and this data asset also contains information about which edges are proper road connections and which aren’t. The hex generation system reads these data assets for populating the map.
With a Scripted Action Actor, we can export each of these components from Houdini, Import them into Unreal, build the new data asset the contains
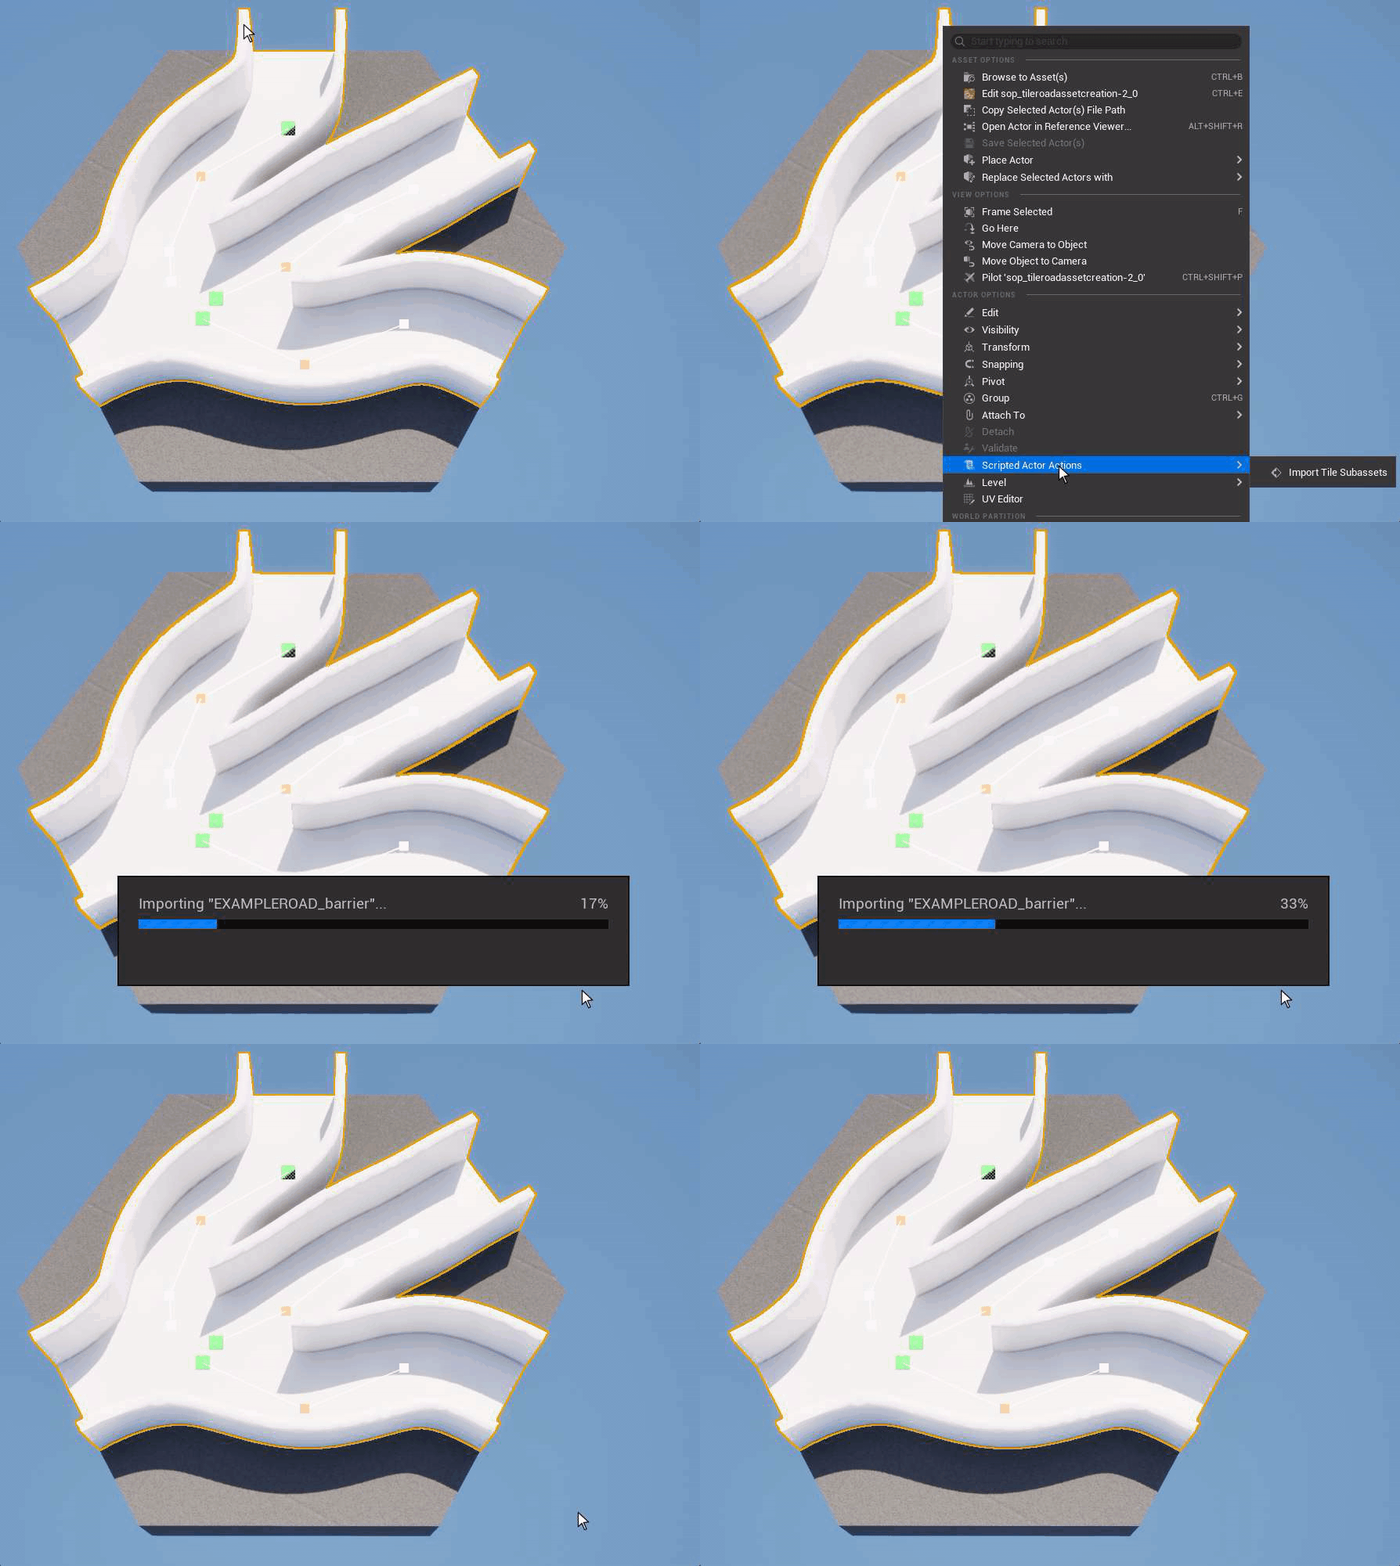
And with that, we’ve created a new hex that just immediately works with our hex map generator!